

Why RV Leveling Blocks and Wheel Chocks Matter
Learn the difference between leveling, chocking, and stabilizing an RV, plus a safe arrival routine for travel trailers and motorhomes.
5 min read
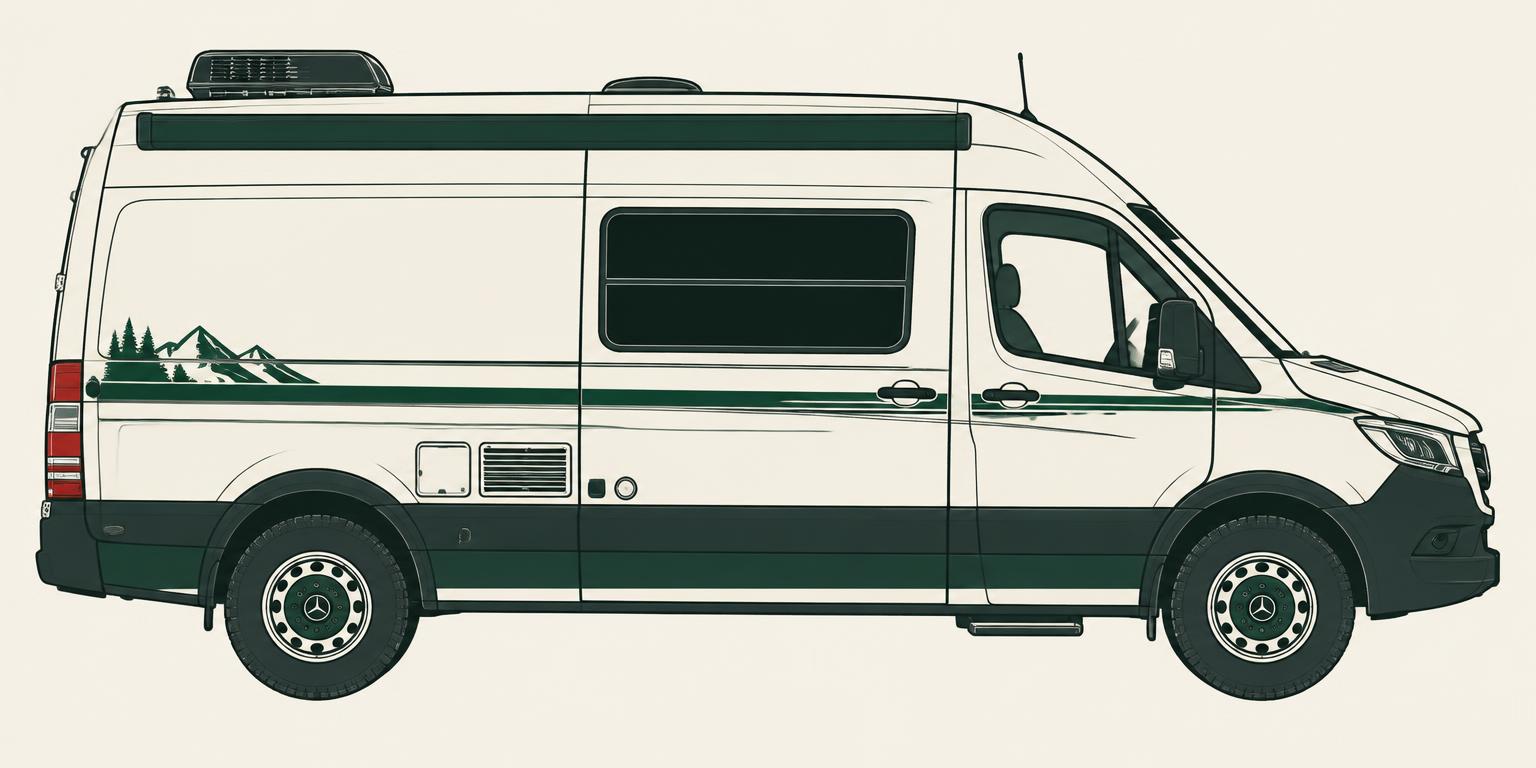
An RV that looks “close enough” to level may still feel uncomfortable, allow doors to swing, and place equipment outside its preferred operating position. An RV that is level but not securely chocked can move when people walk inside or when a trailer is unhitched. That is why leveling blocks and wheel chocks belong in the day-one kit: they solve two different problems that show up at almost every campsite.
The safe sequence is simple. Level the RV, immobilize it with chocks, and then use the stabilizing equipment according to the manufacturer’s instructions.
Leveling corrects the campsite slope
Leveling means raising the low side or end of the RV until the living area is within the range recommended by the RV and appliance manufacturers. For a towable, side-to-side leveling usually happens while the trailer is still hitched. You drive the low-side tire or tires onto blocks or a drive-on leveler. Front-to-back leveling happens after unhitching, using the tongue jack or the RV’s designed leveling system.
Motorhomes may use built-in hydraulic or electric leveling systems, manual blocks, or a combination. The owner’s manual should determine where blocks can be placed and whether the engine, parking brake, or transmission must be in a particular state.
A small bubble level can provide a quick reference. Phone apps may help, but confirm their reading against a reliable level and the RV’s specified reference point.
Wheel chocks stop movement
Chocks wedge against the tires to reduce rolling. Place them before unhitching a trailer. On a slope, use them on the downhill side as required, and many owners chock both directions. The correct number and position depend on the rig and terrain.
Basic plastic or rubber chocks were about $6–$15 in the October 2026 research snapshot. For tandem-axle trailers, X-chocks fit between the tires and can reduce fore-and-aft movement after the regular ground chocks are in place. A pair was roughly $50–$70 in the same snapshot.
X-chocks are not a replacement for standard wheel chocks. They are a stabilizing accessory. The tires and suspension can move as pressure and temperature change, so follow the product instructions and recheck tension when appropriate.
Stabilizer jacks are not automatically leveling jacks
This distinction prevents expensive mistakes. Many travel-trailer corner stabilizers are designed to reduce bounce after the trailer is level. They are not designed to lift the trailer or correct a significant slope. Cranking them hard enough to lift can damage the frame, jack, or attachment points.
Some RVs have leveling systems specifically designed to lift and level. Others do not. Use the terminology in your manual rather than assuming every jack under an RV has the same structural capacity.
Stackable blocks and drive-on levelers each have strengths
Interlocking blocks are compact and adaptable. You can build a gradual ramp and use extra blocks under stabilizer feet where the manufacturer allows. The project research listed a 12-pack of Camco leveling blocks at about $52.
Product clarification: Camco’s standard leveling-block set contains 10 blocks. Its 12-piece leveling and stabilizing kit contains 10 blocks, one chock, and a storage bag; it is not a pack of 12 blocks. Confirm the exact package contents when comparing the historical price estimate above.
Curved drive-on levelers can make fine side-to-side adjustments by allowing the tire to roll gradually upward. An Andersen Camper Leveler was about $48 per unit in the research snapshot. Tandem axles, tight tire spacing, soft ground, and manufacturer restrictions can affect which design works better.
Whatever you choose, check its weight rating and use it only on a firm surface. Do not create a steep, unstable tower. Blocks should support the tire tread or designated jack foot fully, not place a sharp edge against a sidewall.
Follow a repeatable campsite arrival routine
First, walk the site. Look for soft ground, sharp turns, low branches, utilities, and the slope. Decide where the RV must stop so the electrical cord, fresh-water hose, and sewer hose can reach without strain.
Second, check side-to-side level while still positioned to move. If needed, pull forward, arrange the blocks, and drive onto them slowly with a spotter. Never place hands or feet near a tire while the driver is moving.
Third, set the tow vehicle brake and chock the trailer wheels securely before unhitching. Disconnect in the order specified by the hitch and RV manufacturers. Level front to back with the tongue jack or approved system.
Fourth, deploy stabilizers only after the RV is level and chocked. Recheck the entry steps and slide-out clearance before extending anything.
For a motorhome, the sequence may differ. Follow the leveling-system instructions, keep people clear of moving jacks, and use pads where required to spread the load.
Soft ground and rain change the setup
A site that is firm on arrival can soften after heavy rain. Wide pads under approved jack or stabilizer points can reduce sinking, but they must be rated and placed correctly. Inspect the setup after weather changes and before retracting slides or jacks.
Never crawl under an RV supported only by leveling or stabilizing equipment. Maintenance underneath requires properly rated supports and procedures beyond campsite setup.
Pack for the rig you own
A single-axle camper, tandem-axle travel trailer, fifth wheel, Class B van, and Class A motorhome do not use identical leveling gear. Measure tire spacing, know axle and vehicle weights, and read the manuals before choosing products. A compact van may need only a small set of blocks; a large towable may benefit from multiple blocks, robust chocks, and pads.
The goal is not a perfectly still house. It is a properly supported RV that stays where you put it and keeps its systems operating within their intended range.
Match leveling gear to your rig. Use the free planner at rvkitcheck.com to build a personalized list for your RV type, travel style, and trip pattern.