

RV Water and Sewer Setup for Beginners
Set up RV fresh water and sewer connections safely with the right hose, regulator, filter, sewer kit, storage habits, and connection order.
5 min read
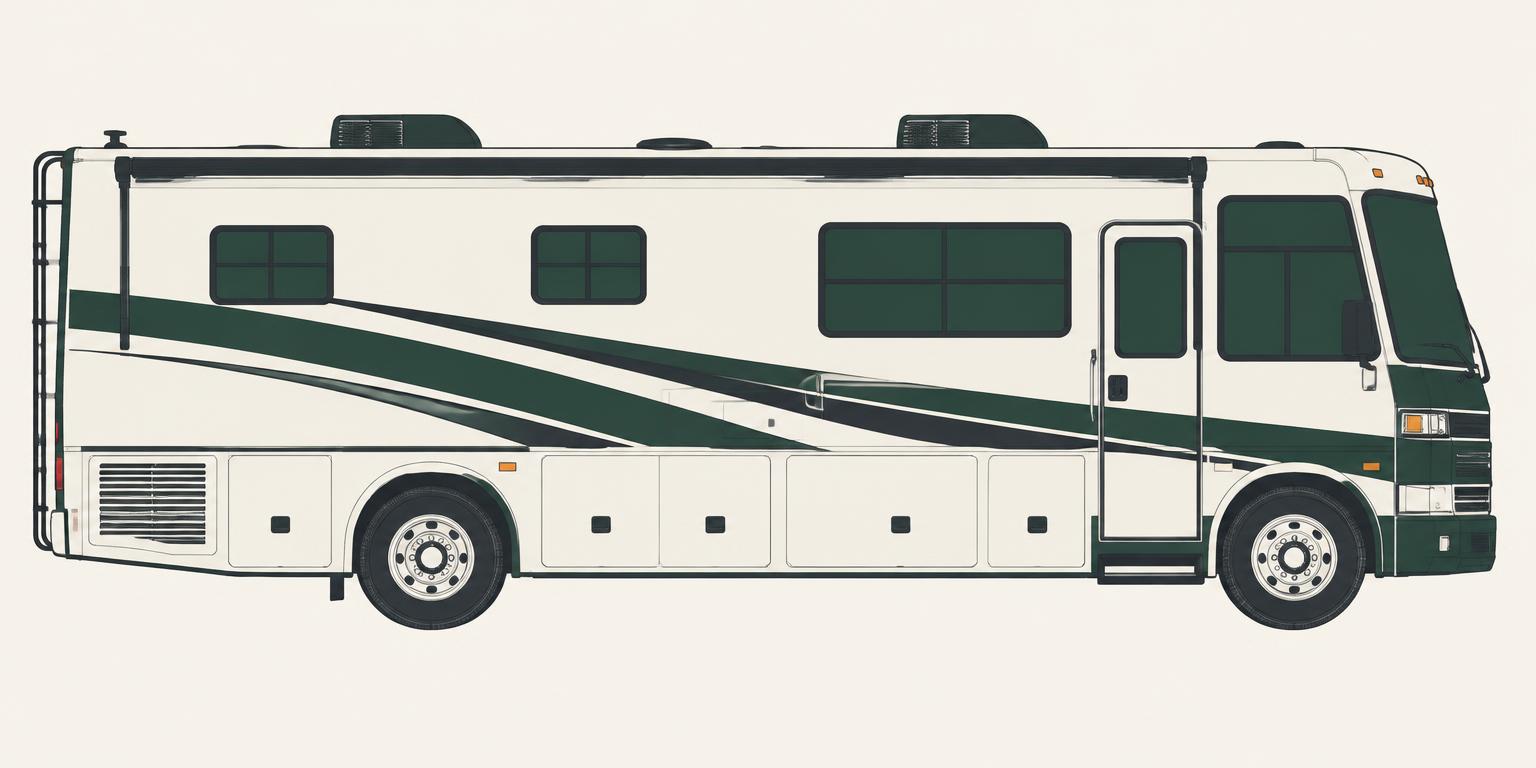
The water compartment is where many first-time RV owners discover that camping has a plumbing curriculum. Several hoses may fit together, but they do not serve the same purpose. A clean setup depends on using potable-water equipment for fresh water, keeping sewer gear separate, controlling pressure, and following a repeatable connection routine.
You do not need a complicated system for the first trip. You do need equipment that is clearly identified, stored correctly, and compatible with your RV.
Build the fresh-water side first
For a campground city-water connection, start with a hose labeled safe for drinking water. A standard garden hose may affect taste and may not be manufactured for potable use. In the October 2026 research snapshot, a 25-foot Camco TastePURE drinking-water hose was roughly $23–$30.
Add a pressure regulator between the campground source and the RV. Campground pressure can vary, and excessive pressure may damage fittings or expose weak points in the RV plumbing. A basic brass regulator was about $20–$30 in the same snapshot. An adjustable regulator with a gauge can provide more information, but the simple fixed model is enough to understand the role of pressure control.
An inline filter, estimated at about $20 in the research, can reduce sediment and improve taste or odor. It is not a universal purifier. Read the filter’s claims and replacement instructions, and do not assume it makes every unknown water source safe to drink.
Connect city water in a clean sequence
Before attaching the hose, inspect the spigot and your fittings. If campground rules allow it, briefly flush the spigot into the ground or a container. Connect the pressure regulator at the source so the hose and RV are downstream of controlled pressure. Add the filter according to its flow direction, then connect the potable-water hose to the RV’s city-water inlet.
Open the spigot slowly and check every joint for leaks. Go inside and check cabinets, the water heater area, and fixtures. A small drip outside is annoying; an unnoticed leak inside can damage cabinetry and flooring.
Never turn on the RV water pump while using city water unless the RV manufacturer provides a specific reason. The pump normally draws from the fresh-water tank, while city pressure supplies the plumbing directly.
Understand when to use the fresh-water tank
The tank is for travel without a pressurized hookup. Fill it only from a source you trust, using a potable-water hose and the RV’s designated fill connection. Learn whether your RV uses a gravity fill, a valve-controlled inlet, or another arrangement.
Water is heavy: one U.S. gallon weighs about 8.34 pounds. Carrying 40 gallons therefore adds roughly 334 pounds, before counting the tank itself. That calculation is useful for planning, but the RV’s cargo limits and axle weights determine what is safe. Many travelers carry only what they expect to need en route and fill closer to an off-grid destination.
Sanitize the tank and plumbing on the schedule and with the method specified by the RV manufacturer. Avoid publishing or following a universal chemical recipe without confirming the tank size and product instructions.
Keep sewer equipment physically separate
A basic sewer kit includes a hose, the correct bayonet fittings, a transparent elbow if desired for monitoring flow, disposable gloves, and a secure cap. Some sites also require a hose support. The Camco RhinoFLEX 20-foot kit was roughly $51–$80 in the project research snapshot.
Store sewer equipment in a dedicated exterior compartment or sealed container away from the fresh-water hose, regulator, and filter. Use different gloves and cleaning tools. Never use the potable-water hose to rinse sewer equipment.
Holding-tank treatment can help with odor and waste breakdown when used as directed. The research snapshot listed Camco TST MAX drop-ins at about $20 for 15 treatments and Happy Camper at roughly $55 for 64 treatments. Those figures are estimates, not current price quotes.
Learn the tank order before opening a valve
At a full-hookup campsite, connect the sewer hose securely but keep the black-tank valve closed until the tank is ready to dump. Leaving it open can allow liquids to drain while solids remain, creating buildup. Many owners also keep the gray valve closed and dump periodically, subject to their RV manual and campground rules.
When dumping, wear gloves and confirm that all fittings are secure. Empty the black tank first. Close its valve, then empty the gray tank so relatively soapy water helps rinse the hose. Use any built-in tank flush only according to the manufacturer’s instructions, and never leave it unattended.
At a dump station, prepare before entering the line. Know where the valves are, have gloves accessible, and place caps back on every connection before moving the RV.
Avoid the most common beginner mistakes
Do not confuse the city-water inlet with the black-tank flush connection. They may be near each other. Label them if necessary. Do not walk away from a tank fill. Do not force plastic fittings with tools unless instructed; overtightening can damage threads. Use a 90-degree elbow or strain relief if the hose pulls hard on the RV inlet.
In freezing weather, exposed hoses and plumbing need a different plan. Disconnecting and using the fresh tank may be safer than relying on an unheated hose. Follow the RV manufacturer’s cold-weather guidance.
Practice at home while mistakes are easy to fix
Before the first trip, identify every water and sewer port, connect the equipment once, and watch for leaks. Confirm that the sewer hose reaches the outlet without tension and that you have the correct caps and adapters. Color-code storage bins so nobody accidentally mixes the clean and dirty sides.
A good RV water and sewer setup is not impressive. It is boring, clean, and repeatable. That is exactly what you want when you arrive after dark or when another camper is waiting behind you at the dump station.
Build a utility kit that fits your RV. Use the free planner at rvkitcheck.com to create a personalized fresh-water, sewer, electrical, leveling, and safety checklist.