

RV Shakedown Trip, Arrival and Departure Checklist for Beginners
Practice close to home, prepare for campsite arrival and finish with a departure walk-around. A three-stage RV checklist to adapt to your rig's manuals.
By RV Kit Check8 min read
References & reading tools updated
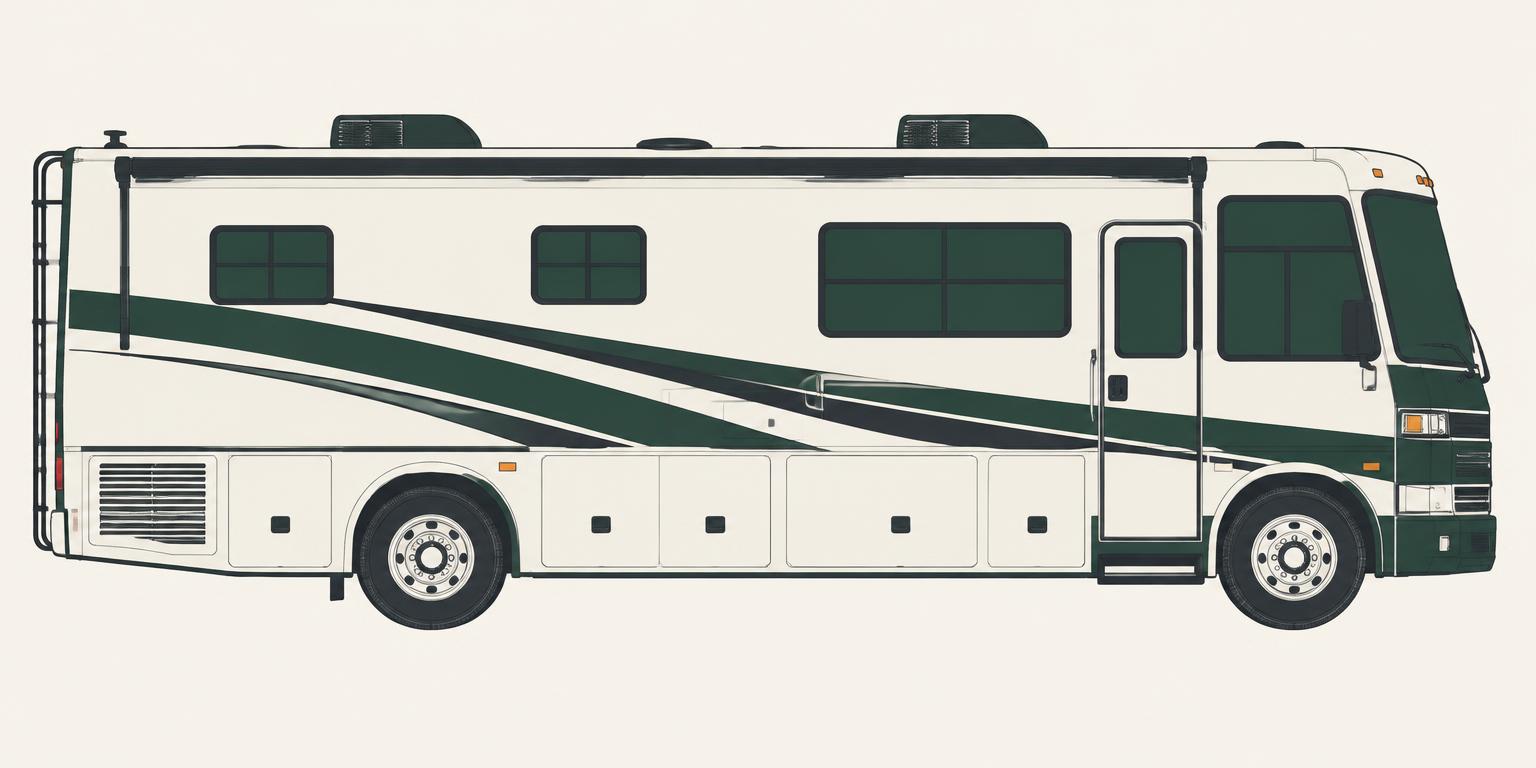
An equipment list answers what to bring. An RV shakedown trip answers whether you can find it, use it and put it away with the vehicle you actually have. Start with a short, manageable practice stay before a more demanding trip, then keep separate arrival and departure lists.
This guide is a preparation framework, not a universal operating sequence or an inspection certificate. Travel trailers, fifth wheels, motorhomes and vans have different hitch, leveling, slide and electrical procedures. Put the instructions for your exact equipment ahead of this checklist. There is no five-minute deadline: stop when you need a demonstration or clarification.
Choose the checklist that fits your responsibility
An owner can practice the systems they are trained to operate and note questions for the dealer or a qualified technician. For a driven or towed rental, arrange the host's walkthrough before leaving and confirm permission to use the equipment. Do not experiment with unfamiliar hitching, electrical or waste systems.
For a stationary delivered rental, agree who positions, levels, connects and later collects the RV. Your role may be to check the supplied inventory, record condition and learn the controls the host permits you to use. Do not move, re-level or disconnect a delivered RV just to complete an owner checklist. Keep the host's support contact and a copy of the agreed responsibilities available offline.
Phase 1: plan a short shakedown close to help
Choose a place where a missing item or unanswered question is manageable. A permitted driveway stay may be useful; a nearby campground can add practice with a real pitch. Check local parking/camping rules, suitable ground, access and the utilities actually available. Nearby stores are convenient, but they do not replace working essential systems.
Write down your trip assumptions: who is coming, expected weather, which appliances you intend to use and whether electricity, drinking water and sewer are at the pitch. Electricity and water without sewer still requires a holding-tank plan. Make a small list of what to try rather than recreating every possible camping situation on the first night.
Keep a notebook. Record what was missing, what you could not locate and what needs a host or technician's explanation. Separate a comfort preference from a repair or a required compatibility check. Use what the practice stay teaches you before buying more accessories.
Swipe the table to see all columns.
| Try or review | Record | Before the next trip |
|---|---|---|
| Find the supplied hookup equipment | Are hoses, caps, fittings, cord and protection present and compatible? | Confirm missing parts and test only by the equipment instructions. |
| Use the living space | What did you return home for: bedding, utensils, medication, chargers? | Add needed household items; avoid duplicating things already supplied. |
| Observe water and energy use | Starting/ending readings, loads used, weather and length of use | Make a conservative tank/charging plan; ask about unexplained readings. |
| Review exits and support | Can the group find exits, emergency equipment, manuals and contacts? | Resolve questions and keep essential instructions available offline. |
Practice systems without deliberately running them to failure
Have the relevant manual open and follow the walkthrough. When you use fresh water, check accessible connections for visible leaks and stop if something is wrong. Keep potable and sanitation equipment separate. Locate the controls and valves before the trip rather than learning their identity at a busy dump station.
For planned nights without shore power, estimate the loads first in Power Planner. If you carry out a monitored battery-use trial, use the battery manufacturer's limits and the RV's operating instructions. Check before those limits are reached; do not leave a battery to run flat as a test. Keep a reliable charging or exit plan. Never use an experimental overnight test to establish power for medical equipment or other essential needs.
Propane heat may still draw electricity for a DC furnace. Note actual blower-on time and other cycling loads instead of treating every appliance as running continuously all night. A practice reading is useful context, not a guarantee for different weather or a longer stay.
Phase 2: inspect the campsite before committing to setup
Walk the pitch before backing or positioning the RV. Check clearance above and beside it, space for doors and slides, ground conditions and whether your equipment reaches the confirmed utility connections. Ask campground staff about damaged outlets, unsuitable ground or an unclear boundary. Changing position is easier before equipment is deployed.
If using a spotter, agree clear stop signals and maintain communication. Stop moving if you lose contact or cannot see that the maneuver is clear. Keep people away from tires, jacks and moving equipment. Give yourself time for an arrival in daylight where practical instead of building the itinerary around a rushed final drive.
For a manually leveled travel trailer, the broad pattern is position and level side to side, secure/chock before unhitching, then follow the hitch instructions and level front to back. Stabilizers reduce movement; they are not lifting jacks unless specifically designed for that job. Fifth wheels, motorhomes and automatic systems need their own procedure. In particular, the order for leveling and slide movement can differ: do not copy another rig's sequence.
Finish arrival with the right utility and living-space checks
Use the EMS and RV instructions for shore power. Keep the source breaker off while making connections, complete the prescribed source test and full delay, and stop for faults. For fresh water, use the designated potable connection and pressure protection required by the RV. Use the water/sewer guide for preparation questions and the equipment manuals for operation.
Confirm the waste plan separately. A shared dump station is not a sewer connection at your pitch. Check when and how you will empty tanks, and keep sanitation gear away from drinking-water items. A delivered guest should ask the agreed operator about tank service.
Once the RV is set up according to its manual, confirm clear exits, accessible emergency equipment and how to contact help. Check what has actually been supplied before unpacking duplicates. If an appliance does not work as demonstrated, ask the host or campground for help rather than changing wiring or bypassing protection.
Phase 3: use a departure list before any movement
Allow time to pack, disconnect and inspect. Work through the rig's departure procedure, then independently walk around it. A checked box records your review; it does not prove a system is safe. If interrupted, return to the last confirmed point instead of assuming the other person finished the task.
The table below groups checks rather than specifying a universal mechanical order. The manuals determine when to move slides, jacks and leveling equipment, and the hitch manufacturer determines the coupling and safety checks. For a stationary rental, complete only your agreed guest tasks and leave teardown and collection to the responsible operator.
Swipe the table to see all columns.
| Area | What to confirm before moving |
|---|---|
| Inside | Loose items secured; doors, refrigerator, windows and vents in travel configuration; appliances set for travel per their instructions. |
| Water and waste | Required tank service completed at an approved facility; hoses disconnected and stored separately; valves, caps and hatches secured per the manual. |
| Shore power | Loads and source shut down as instructed; cord/EMS disconnected and stored; nothing remains connected to the pedestal. |
| Exterior equipment | Slides, awning, antenna, steps and storage doors in their specified travel position; required clearances checked. |
| Towable connection | Hitch, locking devices, required safety equipment, electrical connector, brake/lighting checks and jack position verified by the specific hitch/RV procedure. |
| Wheels and campsite | Cold tire pressure/loading checks completed; chocks and blocks removed at the correct stage, accounted for and stowed; no person or equipment in the path. |
Do a final walk-around and keep the lessons
Before setting off, check around the whole rig and look back at the pitch. Confirm that no hose, cord, open compartment or loose object has been missed and that everyone is accounted for. Resolve anything uncertain before moving. A partner can provide a fresh check, but both people should know who is responsible for each task.
Review tires for visible damage and use the vehicle's specified cold pressure and loading guidance. A TPMS reading does not replace that inspection. Choose a route and driving day suitable for the driver, rig and conditions; there is no mileage target that makes every first trip manageable.
After the shakedown, turn your notes into a shorter personal checklist. Keep the actions that apply to your RV, remove irrelevant tasks and label anything still needing instruction. Use the free kit quiz to organize missing equipment, Rental Prep to record host confirmations, and Power Planner to estimate electrical use. Each tool supports preparation; the vehicle manuals and actual booking determine operation.
Sources & further reading
These official resources cover the topics described below. They are not evidence of first-hand testing or confirmation of historical prices. Follow your RV and equipment manuals for your exact setup. Source links are ordinary reference links, with no affiliate tracking.
- Jayco: RV owner manuals by year and model (opens in a new tab)
Manufacturer example of model-specific manuals. Find the instructions for the RV, hitch, battery and appliances actually in use.
- Jayco: How to set up and tear down your travel trailer (opens in a new tab)
A specific bumper-pull travel-trailer example. Do not apply its hitch, leveling or slide sequence to every RV.
- Progressive Industries / Navico: EMS-PT30X & EMS-PT50X manual (opens in a new tab)
Manufacturer download for model-specific electrical protection and operation.
- Jayco: How RV systems work: water and power (opens in a new tab)
Fresh, gray and black tanks, water sources and approved wastewater disposal. The setup on your own RV may differ.
- U.S. Fire Administration: Recreational vehicle fire safety (opens in a new tab)
RV alarms, extinguishers and fire-escape preparation.
- NHTSA: TireWise: tire safety (opens in a new tab)
Cold pressure, loading, inspection and the limits of TPMS.
- RVshare: New RV renter FAQs (opens in a new tab)
Included amenities, the host walkthrough, systems and owner-specific return tasks. Not a universal statement of fees, driving eligibility or insurance terms.